Sunday, June 17, 2018

Living the Strawberry Muffin Dream


Strawberry Cream Muffins

When I was younger I started baking, well by that I mean I would made chocolate chip cookie dough and eat most of it and then make some cookies with the leftover dough. Not the healthiest thing but eating cookie dough is like a right of passage or something. I’d help mum out when she would make peanut butter cookies too, Auntie Eileen’s recipe of course using a specific brand of peanut butter – OK I do that because I really like my Kraft peanut butter.

Anyways…as I got older I started to venture out and expand my baking skills beyond chocolate chip cookies. So I made other types of cookies, and slowly but surely I began to get the hang of different baking techniques and understanding how to substitute ingredients or invent my own things.

These were originally intended to be Raspberry muffins per the recipe in my Taste of Home Cookbook. However, the night I decided to make these my raspberries had gone moldy, the store was fresh out of raspberries when I went to go get more, so I opted for another one of my favorite berries: strawberries. And it worked out marvelously!

Grab your muffin tray and some cupcake/muffin liners we’re getting started!
When it comes to baking, I’ve found the easiest way to not get yourself in a flustered mess (yes it’s happened before and will most certainly happen again…as I have flashbacks to the time I dropped an almost full bag of flour on the floor and engulfed myself in a white cloud…oops.


That means get your ¼ cup of butter out of the fridge, finely chop up 1 cup of fresh strawberries, and do the same with 1 cup of white chocolate chips.


Toss your cup of chopped strawberries in ¼ cup of sugar and set aside. Then grab a large bowl and cream your butter and ½ a cup of sugar. I use my hand mixer as it’s much easier to get the right consistency but if you really want to…use a mixing spoon and some good old-fashioned muscle.

Beat in an egg and ½ teaspoon each of vanilla and almond extract. Use the actual extracts none of that imitation crap. As with all baking, do not over mix!! Set this bowl aside and get to mixing together 
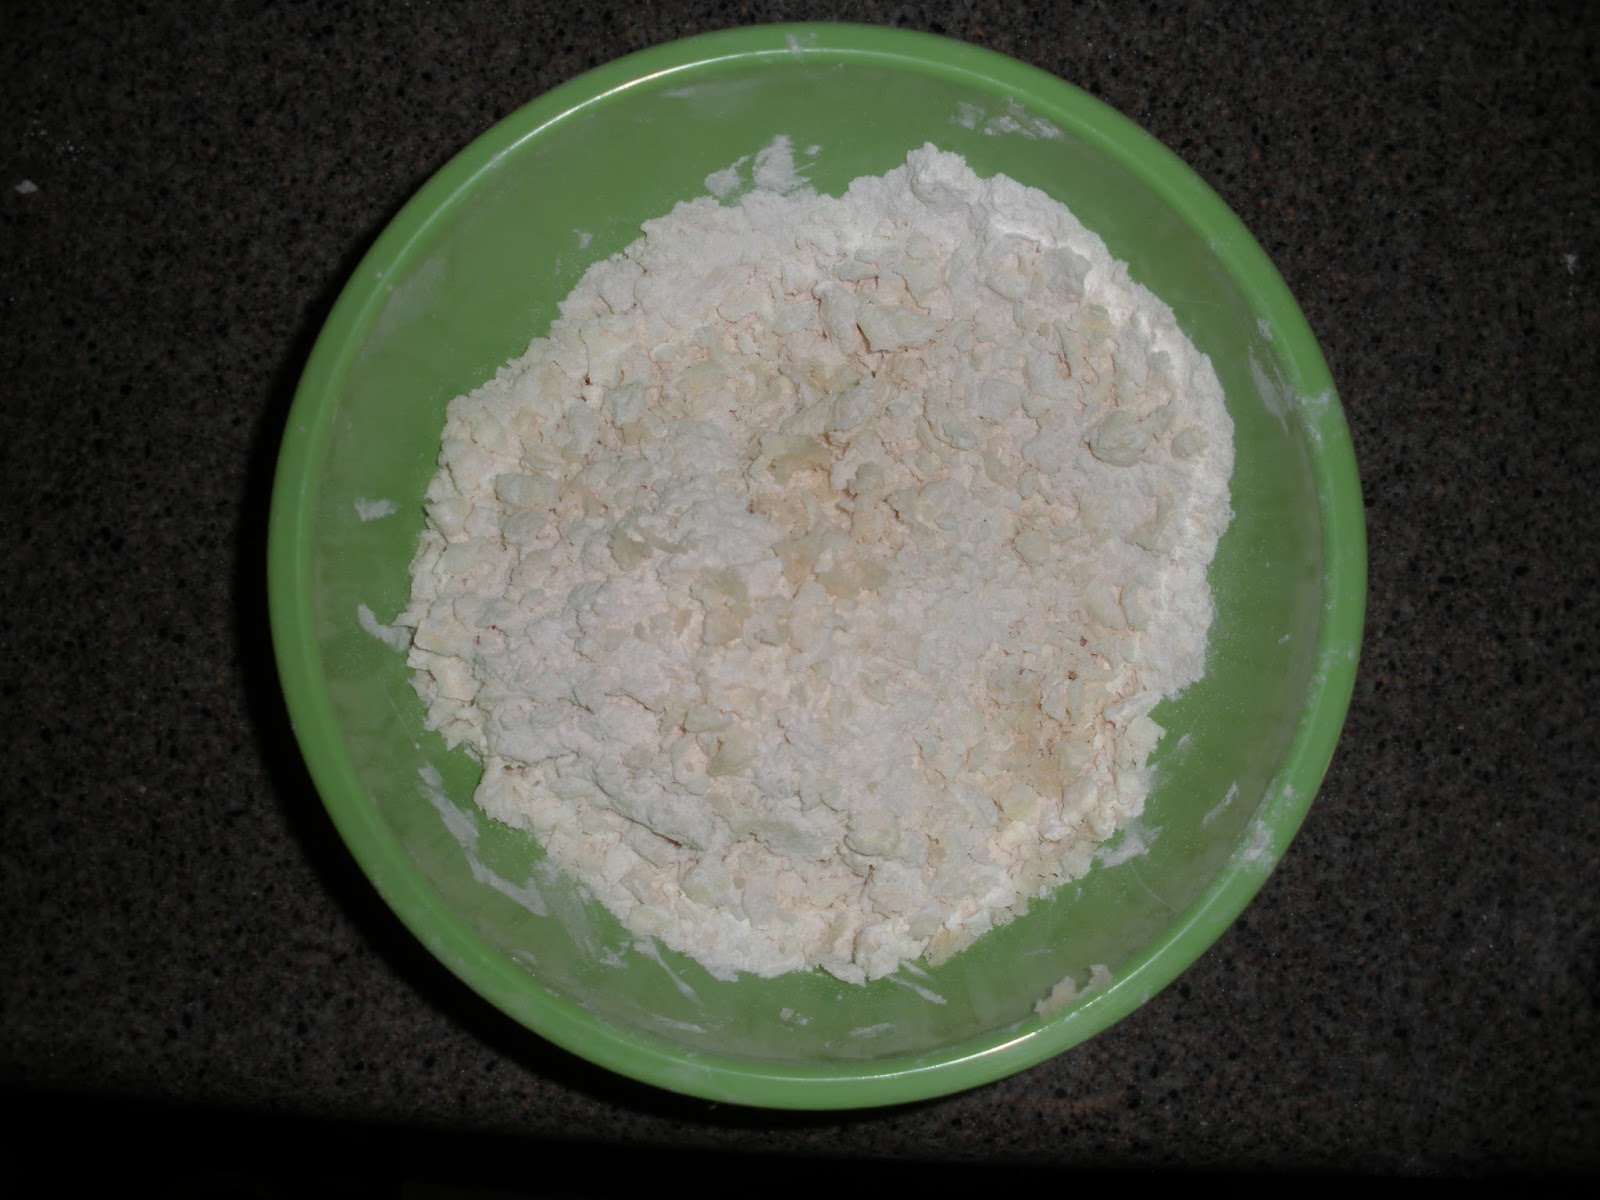
your dry ingredients in a separate bowl (2 ¼ cups of flour, 1 tablespoon baking powder, ½ teaspoon salt).

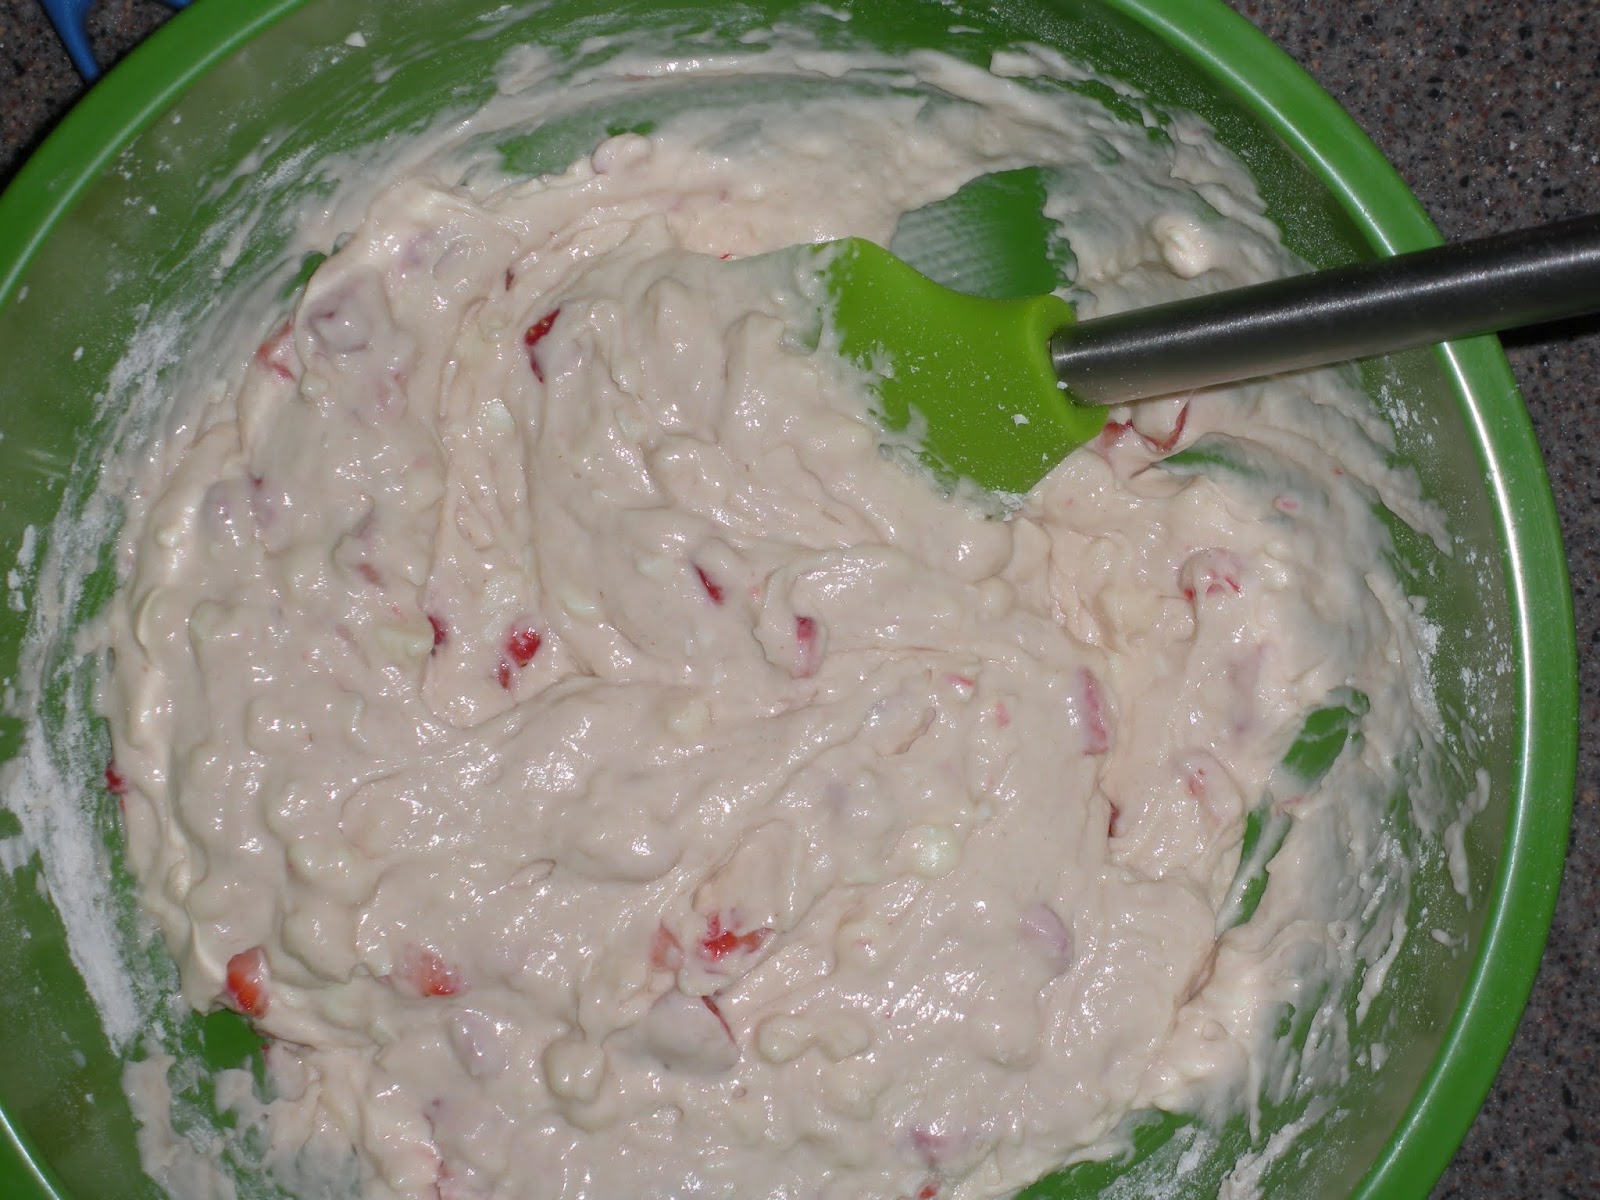
Add your dry ingredients into the butter/egg/extract mix, alternating with 1 cup of half-and-half cream. Mix JUST until moistened. Then you’ll stir (by hand) in the white chips and strawberries.


Pre-heat your oven to 375 degrees F. Line your muffin tray, or if your feeling daring grease the muffin tray and take your chances of the muffins coming out cleanly. Fill the muffin cups three-fourths full, make sure they’re even so the muffins bake evenly. Before you bake the muffins take 2 tablespoons of granulated white sugar and 2 tablespoons of brown sugar; mix them together and sprinkle on top of the batter.


Bake for about 25 minutes, test them out around the 22-minute mark – cooks times vary depending on your oven, altitude, etc. You may need to bake the muffins up to 30 minutes. You want a toothpick to come out clean, but you also don’t want to dry out the muffins.

Best served warm and eat them within a few days. They’re great for breakfast, snack, dessert with coffee or tea.


Simple Straight Forward Recipe:

1 cup fresh strawberries – finely chopped
¾ cup, plus 2 tablespoons, sugar – divided
¼ cup butter (unsalted), softened
1 egg
½ teaspoon almond extract
½ teaspoon vanilla extract
2 ¼ cups all-purpose flour (I use closer to 2 ½ cups due to my location)
1 tablespoon baking powder
½ teaspoon salt
1 cup half-and-half cream
1 cup finely chopped white chocolate chips
2 tablespoons brown sugar

-In a small bowl toss the strawberries in ¼ cup of sugar, set aside
-In a large bowl cream the butter and ½ cup sugar until light and fluffy
-Beat in the egg and extracts
-In a separate bowl, combine the flour, baking powder, and salt
-Alternate mixing the dry ingredients and the half-and-half cream into the butter/sugar mix; careful not to over mix, end with the dry ingredients
-Stir in chocolate chips and strawberries
-Line muffin tray (or grease it), fill muffin cups three-fourths full
-Combine remaining 2 tablespoons of sugar with 2 tablespoons of brown sugar, sprinkle over the batter
-Bake at 375F for 25-30 minutes; checking around 22 minutes
-When toothpick inserted near the center comes out clean muffins are ready
-Serve warm and eat within a few days


Most importantly...enjoy!!

'Til Next Time! :)

Sunday, March 11, 2018

Pass the Rum, I'm Making Cupcakes!


2 Words...


Mojito
Cupcakes


A few weeks ago, I was in a baking mood and scrolling through Pinterest and came across this little gem. While I cannot take credit for coming up with this recipe, which came from www.browneyedbaker.com back in 2012, I give her major props! These cupcakes are delicious. I made a few minor adjustments, mainly adding a bit more rum and vanilla, and some extra lime to the frosting to hit my taste preferences. Let’s face it, I was daydreaming about my upcoming wedding in the Caribbean, where the ship has a Mojito bar, these cupcakes seemed like the perfect thing to bake that day.

And come on, Kendra’s in a baking mood how is she NOT going to bake some sort of alcoholic cupcake? It’s kind of my thing according to co-workers. When I bring in baked goods the question is often asked, “is this a work-safe cupcake? Or an after-work cupcake?” Honestly, it makes me laugh and I find great satisfaction knowing that my co-workers know me so well that they need to ask.

Let’s get started then, shall we? Trust me on this one, muddle the mint and get the lime zest prepped before you start, pre-measure out your ingredients it will make everything run a lot smoother. To muddle the mint if you don’t have the exact tools, mortar and pestle, you can use the back side of a spoon. All muddling is, is crushing the mint leave to release the flavors.


Heat ½ cup of buttermilk and about ½ cup of the muddled mint leaves over medium heat in a small saucepan. Just as the buttermilk starts to steam (NOT SIMMER) cover and remove it from the heat. Let that steep for at least 15 minutes, I let it steep for about 30 and it came out fantastically!


While the buttermilk/mint mixture is steeping, combine your dry ingredients. Flour, baking powder, and salt go into a medium sized bowl then set aside.


Cream ½ cup of unsalted butter and 1 cup of white sugar together until it’s light and fluffy. I use an electric hand mixer, takes a few minutes to get the right consistency, patience is key when baking. I learned that the hard way…add 2 eggs into the mix, beating well after each addition, but not over-mixing. Remember, baking is a very precise science and can easily be…well screwed up. Once the eggs are added in, mix in your lime zest, lime juice, vanilla extract, and of course your rum.

I may have taken a swig or two out of the bottle at this point. Hey, I like rum and haven’t had it in a while. There was a time, before I was 21 and could drink legally, that I drank so much Bacardi and Diet Coke that drinking regular diet coke tasted weird. I know, that’s probably not a good thing, but at least it meant I wasn’t drinking a ton of soda?

Anyways…grab your buttermilk/mint mixture. It probably looks gross, separated, and curdled. That is OK though. Take a small bowl and a fine mesh sieve/strainer and drain the mint infused milk into the bowl. Use a spoon to squeeze as much liquid through the sieve as possible. Burst the little curdled milk bubbles to do so and squish the hell out of the mint leaves too. Stir the milk in the bowl a bit to smooth it out and it should all come back together. Discard the mint leaves and any leftover buttermilk…stuff. It should look like this.


Combine everything together, alternating adding the dry ingredients and mint buttermilk to the butter/egg/sugar mix, ending with the mixing in the last of the dry ingredients by hand. Don’t over mix!!


Separate the batter evening into lined muffin cups and bake at 325 degrees F for about 25 minutes, until the cupcakes are golden-brown and a toothpick/cake tester comes out clean.


In your small saucepan, combined 2-3 tablespoons of your rum and 2 mint sprigs over a medium heat. Heat the rum just enough so it starts to steam, much like you did with the buttermilk. Once it starts to steam, remove it from the heat and cover. Do this while your cupcakes are baking, then let the cupcakes cool for about 5 minutes. The brush the tops of the cupcakes with the mint infused rum. I like to poke the cupcakes a few times with a toothpick or cake tester to help the rum soak in more, without drowning the cupcakes into a mushy mess. Let the cupcakes cool completely before frosting.


It’s a standard buttercream frosting, mix it up to your desired consistency, pipe, frost, decorate your cupcakes however you wish and enjoy!


Ironically, my decision to bake these cupcakes was perfect timing, the very next day my best friend calls me…her dogs grabbed the cupcakes she was baking for her husband’s birthday off the counter. Kendra to the rescue!


Simple Straight Forward Recipe

Cupcake:
½ Cup buttermilk
½ Cup mint leaves, muddled/bruised
1 ½ Cups flour
1 ½ teaspoons baking powder
¼ teaspoon salt
½ Cup unsalted butter, softened
1 Cup sugar
2 eggs
Zest and juice of 1 ½ limes
½ teaspoon vanilla extract
4 Tablespoons good white rum (divided)
2 sprigs of Fresh Mint

Frosting:
1 Cup Unsalted butter, softened
4-5 Cups powdered sugar
2 tablespoons lime juice
3-4 tablespoons white rum

-Combine the buttermilk and ½ cup muddled mint leaves in a small saucepan over a medium heat. Warm JUST until the buttermilk starts to steam, do not simmer. Remove the buttermilk and mint from the heat, cover, and let steep for at least 15 minutes, 30 is better.
-Once the buttermilk and mint have set for your desired time, strain the milk into a bowl using a fine mesh sieve. The buttermilk will have separated a bit, and will look clump, but it’s perfectly OK. Press any of the solid milk bubbles through the sieve getting as much liquid as possible out. Stir it a bit to smooth out and set aside.
-Preheat the oven to 325 degrees F
-Grab a medium bowl and combine the flour, baking powder, and salt. Set aside
-Use an electric mixer on a medium-high speed, beat the butter and sugar together until it is light and fluffy, be patient it can take a few minutes
-Using the electric mixer, slow the speed down and add the eggs in one at a time, mix in the lime zest, juice, 2 Tablespoons of Rum, and the vanilla extract.
-Alternate adding in the dry ingredients and the buttermilk/mint into the egg mixture. Ending with the dry ingredients – add the last bit in and mix briefly by hand.
-Divide the batter evenly into lined muffin cups, bake for about 25 minutes, until golden brown.
-While you’re baking the cupcakes, combine the remaining 2 tablespoons (possibly 3 if you’re feeling daring) of rum and the 2 mint sprigs in a small saucepan, again just until the rum starts to steam. Cover and let steep until the cupcakes are done.
-Allow the cupcakes to cool for about 5 minutes, then brush the tops with the rum. Let the cupcakes completely cool before frosting.
-For the frosting, beat 1 Cup of softened butter and slowly add in the powdered sugar. Add the lime juice and rum, mixing on a medium speed until you get your desired consistency and taste. Add additional powdered sugar to help get the right consistency.
-Frost the cupcakes and feel free to garnish with additional mint or lime wedges!

Thursday, January 4, 2018

Best Company a Grilled Cheese Could Ask For


Tomato Basil Soup

Growing up, I hated tomatoes in any shape or form – with the exception of ketchup. Actually, growing up, I pretty much lived off of peanut butter sandwiches and chicken fingers. Clearly my tastes have expanded since.

I was nursing a slight hangover from the holidays when I made this the other night, something about tomato soup and grilled cheese sounded amazing, but when does that not sound amazing? Anyway, we managed to make it to the grocery store so I could whip up this deliciousness. Here’s where we begin.


Don’t those veggies look fantastic? I love fresh produce and one day I really do plan to test out my green thumb capabilities, so I don’t have to brave the grocery store all the time. But until then, I’m glad the store is less than a mile from my house. Easiest way to go about this is prepping and chopping everything before you turn the stove on so you can easily add in the ingredients when needed.


Once everything is prepped and ready to go, grab your soup pot and throw that baby on a medium heat. Melt the butter and sauté the onion, carrots, and garlic for about 5 minutes. Just until the carrots start to soften, then pour in the vegetable broth and let it simmer for about 15 minutes or so, maybe up to 20.


Now you’re going to add in the tomatoes. Side note, when I chop them up I take out a lot of the seeds. Something still irks me about the slimy insides of tomatoes. Ask anyone, I’ll eat tomatoes when they’re diced up, but if there is a big old slice of tomato on my burger? Yeah that sucker is coming off. It’s gone so far that my dad will slice up Roma tomatoes and specifically save the end pieces with no seeds for me to eat in my salad.


Let the tomatoes simmer in the broth for about 15 minutes, you need them tender enough to be able to blend up easily.

To blend the soup I strongly suggest using an immersion blender, these things are incredibly useful in the kitchen and I used my a TON when I make soups and my pasta sauces. It gives the soup a creamy texture without having to add in a lot of dairy (which is perfect for people trying to cut back on excess fats or who can’t have dairy). If you don’t have an immersion blender a regular blender works just fine, but it is a bit messier and a bigger appliance to clean afterwards.


Is your soup smooth now? Excellent, pour in the half cup of milk and the tomato paste, you can whisk it in or use your handy blender. Then add in your fresh herbs and additional seasoning. Start off with a little and add more until you reach your taste preference.


And that’s pretty much it, let the soup simmer on a low heat for at least another 20 minutes. Really you want to give it 30-40 minutes, taste it after 20 and see if you need to adjust the seasoning. I usually use this time to make some grilled cheese sandwiches to go along, because those two are peas in a pod.


Simple Straight Forward Recipe:
7 tomatoes (medium sized, I like the on-the-vine tomatoes they last longer and taste different to me), roughly chopped
1 medium yellow onion, chopped
3 garlic cloves, crushed
2-3 medium sized carrots, peeled and chopped
2 ½ tablespoons butter
3 ½ cups vegetable broth
½ cup milk
6 oz tomato paste
½ cup fresh basil, roughly chopped
½ cup fresh parsley, roughly chopped
Salt, pepper, garlic salt

-In a large soup pot sauté onion, carrots, and garlic in the butter for about 5 minutes over medium heat
-Pour in the vegetable broth, simmer for 15-20 minutes
-Add in the chopped tomatoes, simmer an additional 15 minutes
-Once veggies are softened, use an immersion blender to mix (or transfer to a blender to mix) until the soup is smooth and all large chunks are gone
-Add in the milk and the tomato paste, stir/mix
-Blend in the fresh herbs along with salt, pepper, and garlic salt to taste
*Optional stir in a bit of parmesan cheese
-Let simmer for at least 20 more minutes, up to 40 minutes if you can last that long
-Top with more Parmesan Cheese if desired and additional fresh basil; goes great with grilled cheese!

Tuesday, December 12, 2017

Fajita Time! ...and make them Hot!

Wasabi Beef Fajitas

A handful of years ago, when I was just starting out in the kitchen…well aside from baking because I realized as an adult I can’t live off cookies and cupcakes…and pre-made frozen food. Turns out cooking fresh food tastes a hell of a lot better.

Anyways, I started purchasing some cookbooks, paging through them and picking different, easier, recipes to try out. This one in particular jumped out at me because the idea behind it was it should be a quick meal to throw together, 30 minutes prep and cook time. Turns out, Kendra is incredibly slow in the kitchen so the first time I made these it still probably took me an hour. The original recipe came from one of my Taste of Home Cookbooks, they have fantastic recipes and great ideas!

Always, gather all of your ingredients, chop the veggies before hand so you’re not trying to chop them while you have the oil heating in the pan – simple things that I messed up early in my kitchen days.


Start with the sauce, grab your ingredients and measuring spoons and get that put together.


Now, I strongly recommend using a Wok for this recipe, it really allows you to cook the veggies and the meat quickly over a greater surface area and NOT overcook the meat and make it chewy. Do the veggies first, remove them from the pan, then cook the meat. Once the meat is done to your desired temperature (me, I like my beef medium-rare so I cook my beef a little less) add in the sauce!


Let this boil for a couple of minutes, it will thicken up, stir consistently to coat the meat generously. After a couple of minutes toss the veggies back in the pan with the meat and reduce the heat. Heat everything, stirring occasionally, until it’s all warm and smelling delicious.


And that…it that, grab the toppings you desire and assemble your fajitas!


Simple Straight Forward Recipe:
-1 tablespoon cornstarch
-2 ½ tablespoons reduced sodium soy sauce and 1-2 tablespoon Hoisin sauce (or 3-4 tablespoons reduced sodium soy sauce)
-2 teaspoons prepared wasabi (add more if you want some extra heat)
-2 teaspoons fresh ginger root, shredded or finely minced (or you can use dried minced ginger, fresh is better though!)
-2 cloves of garlic, crushed
-1 large red pepper sliced or chopped whatever floats your boat
-10 green onions, cut into 2-inch pieces (including the white parts)
-About 2 tablespoons sesame oil
-1-pound stir-fry beef strips you can use pre-cut, sirloin, chuck roast, hell use chicken if you want to!)
-Flour tortillas
Cheese, Sour Cream or whatever toppings you’d like

Start with making the sauce; in a small bowl combine the cornstarch with the soy sauce until smooth, stir in the wasabi, ginger, and garlic until it’s nice and blended. Set this aside for now. *Tidbit: most of the time I make an extra bit of sauce because…well I like the sauce.

In a large skillet or wok, heat about 1 tablespoon of the sesame oil over a medium-high heat. Stir-fry the red pepper and green onions for about 2-3 minutes or just until they’re getting tender. Remove the veggies and set aside.

Take the remaining oil and let that heat for a couple of minutes, add the beef and stir-fry for roughly 5 minutes, just until the beef is no longer pink. Stir the sauce mixture in with the beef and bring to a boil. Cook and stir frequently for about 2 minutes, then reduce the heat just a tad so it’s more medium, than medium-high.

Toss the veggies back in with the meat and stir to coat nicely, heat it throughout for another couple of minutes.

Warm some tortillas, gather your toppings (my original recipe called for a coleslaw mix) and build your fajitas!


Saturday, November 11, 2017

Chilly Times Call for...Chili!!


Veggie Chili

Well, it’s finally starting to cool off outside and finally feeling a bit more like Fall. Probably one of the few downsides to living in Phoenix. Almost mid-November and it’s still getting into the mid-80’s during the day. What’s worse, after 9 years of living in the valley I’m finding myself going, “Oh it’s going to be 84 today, I should wear jeans today since it’s cooler.” What has happened to this Canadian???

Whether it is actually cold, or “Phoenix cold”, now seems like a fantastic time for a bowl of chili. I decided to go with a veggie chili today – mainly because Dad is coming over and he’s a vegan. I’m determined one day to return him to the dark side. At the very least, get him eating dairy again, cooking for him can be a little difficult when you can’t put cheese on anything, and I love cheese.

My veggie chili combines an array of spices, veggies, and beans simmered in the slower cooker for 5-6 hours. I like to combine it with some fresh made biscuits (from scratch or Pillsbury…cornbread works too). Top it with some sour cream and cheese (vegan cheese for Dad and he doesn’t like sour cream anyways) and you’re good to go!

I like to start by chopping up roughly 2/3 of a large white onion, or 1 whole medium sized onion. In a medium sized pan, sauté the onion in a little bit of olive oil until soft and starting to brown. I enjoy using a flavored olive oil, there’s a great place in Flagstaff that has a fantastic garlic infused oil as well as a chipotle oil. Once your onions are done, remove them from the heat and gather the rest of your ingredients. You can also include 2 chopped green peppers in with the onions, I like to do this since it adds some extra veggies into the chili. Completely optional if you don’t want to.

You’ll need 1 can (15 oz) of tomato sauce, 2-3 tomatoes chopped (or if you’re feeling lazy you can used 1 can of diced tomatoes), 2-3 cloves of garlic (crushed), and 4 (15 oz) cans of beans. I used 2 cans of a spicy chili bean my grocery store carries, 1 can of black beans, and 1 can of pinto beans.

Starting with the beans, add the 4 cans into your slow-cooker. Mine is a 3-quart size, this recipe can easily be doubled for a larger crowd, in which case you’ll want to use a larger slow-cooker. Stir in the tomato sauce, garlic, diced tomatoes, and onion (green peppers too if you’re using them!). I usually add about ½ a cup of water into the mix as well.

Now it’s time to gather some seasonings. You’ll need chili powder, salt, brown sugar, basil, Italian seasoning, thyme, black pepper, oregano, and marjoram (see below of the measurements of each). Add in the seasonings, stir everything up and throw in 1 or 2 bay leaves. Cover and cook on Low for about 5 hours. You can easily let this simmer up to 6-7 hours. My slow-cooker automatically switches to a warm setting once the cook-time has finished.

Serve in a bowl, or if you’re feeling fancy a bread bowl, serve with biscuits or cornbread. Top with fresh chopped onion, cheese (I used some fresh shredded Cheddar), sour cream…the possibilities are endless! Either way, I’m sure you’ll enjoy this delicious dish!


Simple Straight Forward Recipe:
-2/3 large white onion or 1 medium white onion, chopped
-4 cans of beans of your choice (I use a spicy chili bean, black beans, pinto beans)
-2-3 cloves of garlic, crushed
-1 (15 ounce) can tomato sauce
-2 or 3 tomatoes, diced OR 1 can diced tomatoes
-1/2 cup of water
-2 green peppers, chopped (optional)
-2-3 tablespoons of chili powder
-A little less than 1 tablespoon Italian seasoning
-1/2 tablespoon each of salt, black pepper, brown sugar, basil, and thyme
-About 1 teaspoon oregano and marjoram
-2 small bay leaves (or 1 large one if your bay leaves are huge like the ones I have)
-toppings of your choice

-Chop the white onion (and green peppers if you’re using them), sauté in a medium sized pan until softened and golden brown; set aside
-In your slow cooker, stir in your beans, tomatoes, tomato sauce, garlic, and onion/green pepper mix
-Add in ½ cup of water
-Stir in seasonings, add in bay leaf (or leaves)
-Cover and cook on Low for approximately 5 hours, letting simmer for longer if you wish
-Serve in bowls with toppings of your choice
-Left overs can be refrigerated or frozen

Saturday, November 4, 2017

Post Halloween Baking...Chocolate Raspberry Bars


Chocolate Raspberry Bars

Ahhhh it feels good to be back! I thought this might be a good place to re-start. Chocolate Raspberry Bars, those sound fantastic right now (as I’m making Coffee Cake…). I know it’s post Halloween and everyone is probably over sugared and fighting the risk of severe cavities. But…come on, Chocolate Raspberry Bars, how good do those sound?
The best part about these bars is how well every layer goes together. Don’t like raspberry? Not a problem I’ve substituted strawberry jam in these, and I’m pretty sure any sort of jam would work. Blueberry, Blackberry, Apricot whatever you want!

Let’s get started shall we? Since these bars are layered, they do require a bit of time to set before you can start on the next layer. Grab your ingredients, preheat your oven to 375 degrees Fahrenheit, and let’s start on the crust. Grab 1 cup of flour and a quarter cup of confectioners sugar, mix them together then take ½ cup (or 1 stick) of butter. Now the trick here is to have the butter be cold, I usually cut the butter into smaller squares so I can easily cut it into the flour/sugar mix. Your mixture should look like this.


Take your crumbly, crust mix and press it into a very lightly greased 8x8 square pan.


Alright, now you're going to pop this in the oven for about 15 minutes, uncovered. You want it to be nicely browned, but obviously not burnt. You need it be firm so it won't crumble and fall apart later when you try to cut the bars.


While the crust is still warm you want to spread the jam on top of it. You do this while the crust is warm so the jam has the ability to spread a hell of a lot easier. I use approximately 1 cup of jam. My originally recipe only called for ½ a cup, which was clearly not enough. Use your best judgement on how much jam you want to use.


Next up…white chocolate layer!! Take half a block, 4 ounces, of cream cheese out of the fridge to soften. Take 1 cup of white chocolate chips and put them in a microwave safe bowl. Melt them at 50% power. I start at 2 minutes then stir, then another minute or so. Do not burn the white chips, yes you can easily burn white chocolate. Don’t do it if you can help it. It smells bad and you just worst of all, you just wasted chocolate chips.


Take the softened cream cheese and 2 tablespoons of milk and beat it until it's smooth. Then add in the melted chips and continue beating the mixture until it's (yes you guessed it) smooth. It shouldn't take too long.

Does your chocolate cream cheese mix look like this? GREAT!!


Now spread this carefully over the jam! As you can see I use a small spatula to do this. You need to do this with a light and gentle hand otherwise you'll mix the jam and the cream cheese layers together, and that’s not what we’re trying to do here. I'm sure it would taste just fine, but I always like the look of having the separate layers. So just go slowly and do it carefully.


All good? Excellent! Now we’re about ¾ of the way done with this baking project. Since the crust was warm when you layered on the jam, and then white chocolate/cream cheese mix was also a little warm when you spread that over the jam layer, you need to let everything cool completely. Take a step back, go watch an episode of something on Netflix or Hulu or watch the news (just kidding don’t do that, no one wants to watch the news…). Give it about 15 minutes on the counter to cool, then pop it in the fridge for about 1 hour to set.

Welcome back! Did you enjoy your episode of whatever you decided to watch? I hope you did. It’s time for the final step of our layered bars, the Chocolate Glaze! For the glaze it is incredibly simple. Take the microwave safe bowl you used before for the white chocolate and put ¾ of a cup of semi-sweet chocolate chips and the 2 tablespoons of shortening in it. Again, melt it at 50% for about 2 minutes, then maybe another minute. Stir it around until it's completely smooth like this...


Once you have your glaze all set, take the bars out of the fridge (if you haven’t already) and carefully pour the warm glaze over the layer of white chocolate. What I usually do is pour the glaze on and then pick up the pan and slowly tilt it around so the glaze spreads evenly.


Guess what you're going to do now...that's right, put this sucker back in the fridge so it can set. Only for about 10 minutes or so though. Once it's set juuuuuuust enough you can score the bars.
Not my prettiest work, but I did my best...
Once you cut them in the bars. Leave them in the pan, the glaze isn't completely set yet so you need to return this to the fridge (ugh I know) for sadly another hour or so. Gaaaaah!! Don't worry, distract yourself with something else then when that hour mark hits...you can FINALLY enjoy these! Cut the bars through the rest of the way and keep them in the fridge in a sealed container. The first bar will be the hardest one to get out and it will probably look horrible, but the others will be nice and pretty.


That's it! You're done! Enjoy and try not to be like me and eat all of them…it happens sometimes, it’s OK though no one will judge you.


Simple Straight Forward Recipe:
CRUST:
1 cup all-purpose flour
1/4 cup confectioners/powdered sugar
1/2 cup (1 stick) of butter, still cold and cubed or sliced in some way

FILLING:
About 1 cup seedless raspberry jam OR strawberry jam OR whatever jam you want really
4 ounces cream cheese, softened
2 tablespoons milk
1 cup vanilla or white chocolate chips, melted

GLAZE:
3/4 cup semi-sweet chocolate chips
2 tablespoons shortening

-Combine the flour and confectioners sugar together; cut in the cold butter until the mixture is nice and crumbly
-Press evenly into an 8x8 baking dish, lightly greased
-Bake at 375 degrees F for 15 minutes until golden brown
-While the crust is warm, spread about 1 cup of your choice of jam evening over the crust
-Melt 1 cup of white chocolate chips in a microwave safe dish
-Beat 4oz of softened cream cheese with 2 tablespoons of milk, continue to beat until smooth, adding in the melted white chocolate
-Carefully spread the white chocolate mix over the layer of jam, spreading evenly
-Let set for about 15 minutes, the refrigerate for 1 hour
-In a microwave safe bowl combine semi-sweet chocolate chips and shortening, melt in the microwave, stirring until smooth
-Spread evenly over the white chocolate layer
-Let the Chocolate glaze set for approximately 10 minutes in the fridge before scoring the bars
-Return to the fridge for 1 hour
-Cut the bars through the rest of the way, can store in the fridge in a sealed container
-Enjoy!